-
Marie Watt: LAND STITCHES WATER SKY
Through Sept. 22, 2024
Get tickets now to experience this special exhibition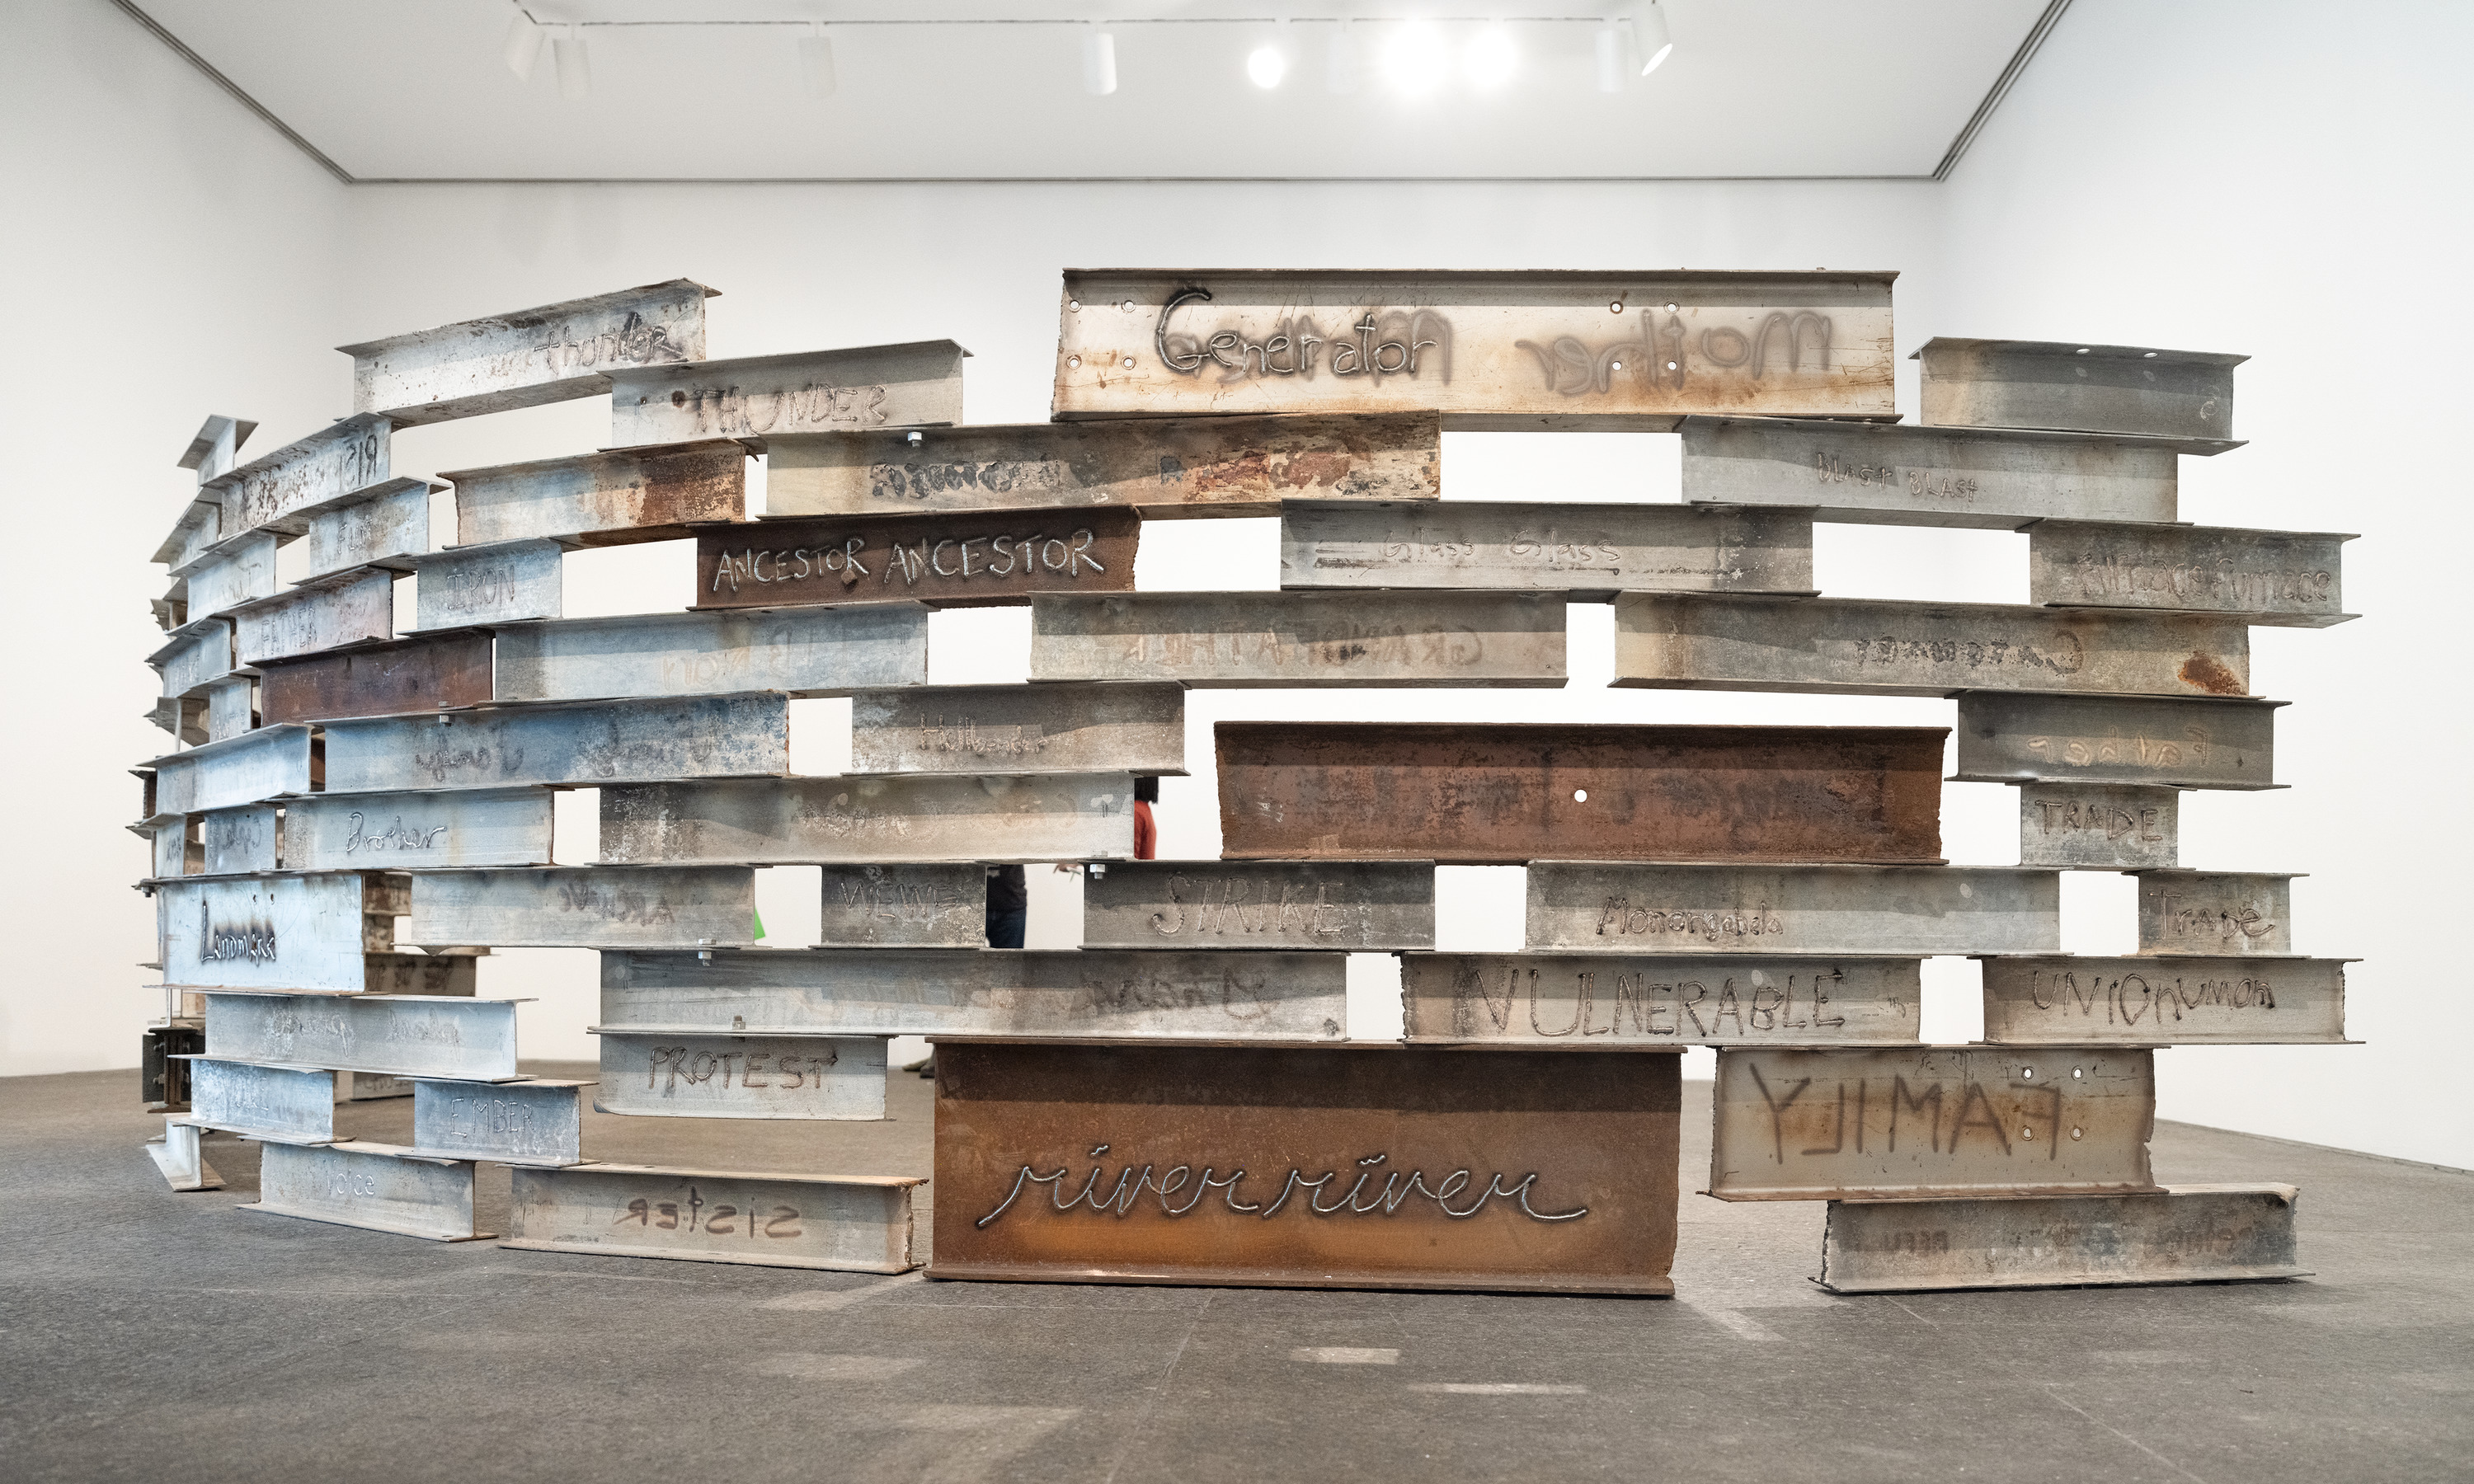
-
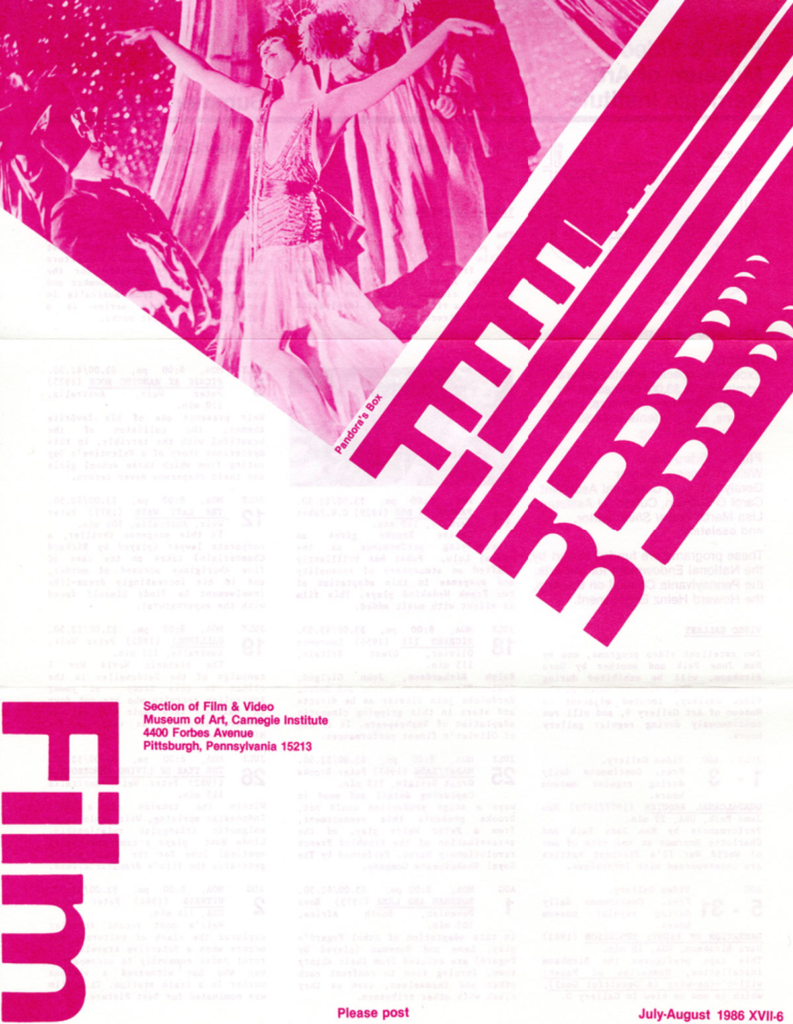
Carnegie Museum of Art Film Series
Tickets on sale now 🎟
Screenings start Apr. 27
-
Mindful Museum
For visitors ages 55+
Registration now open! -
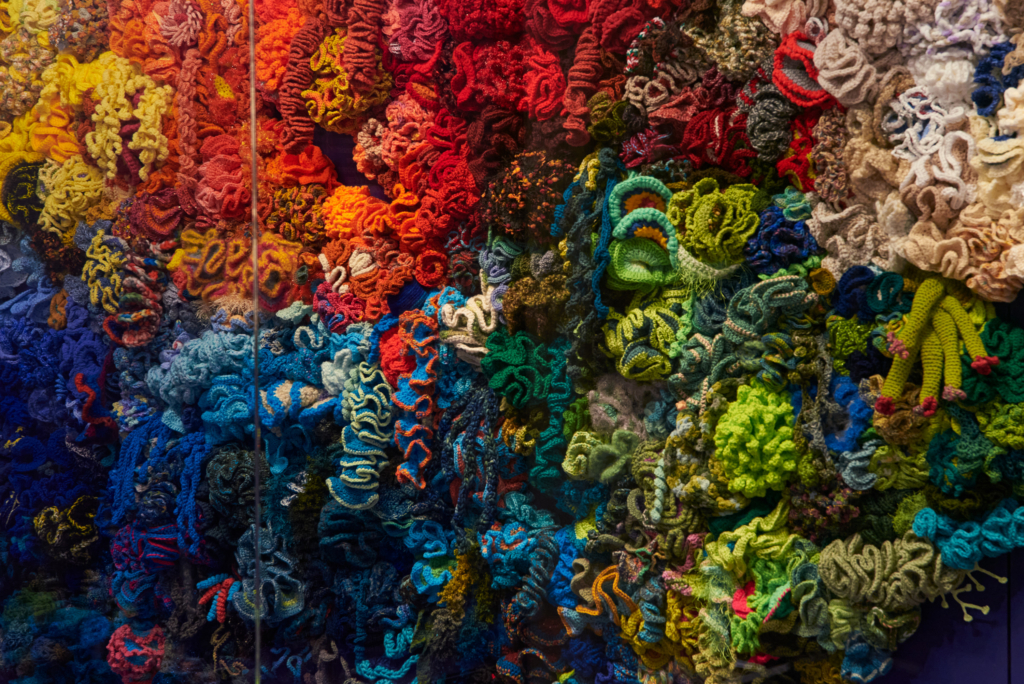
Everlasting Plastics
Through July 21, 2024
Get tickets now to experience this special exhibition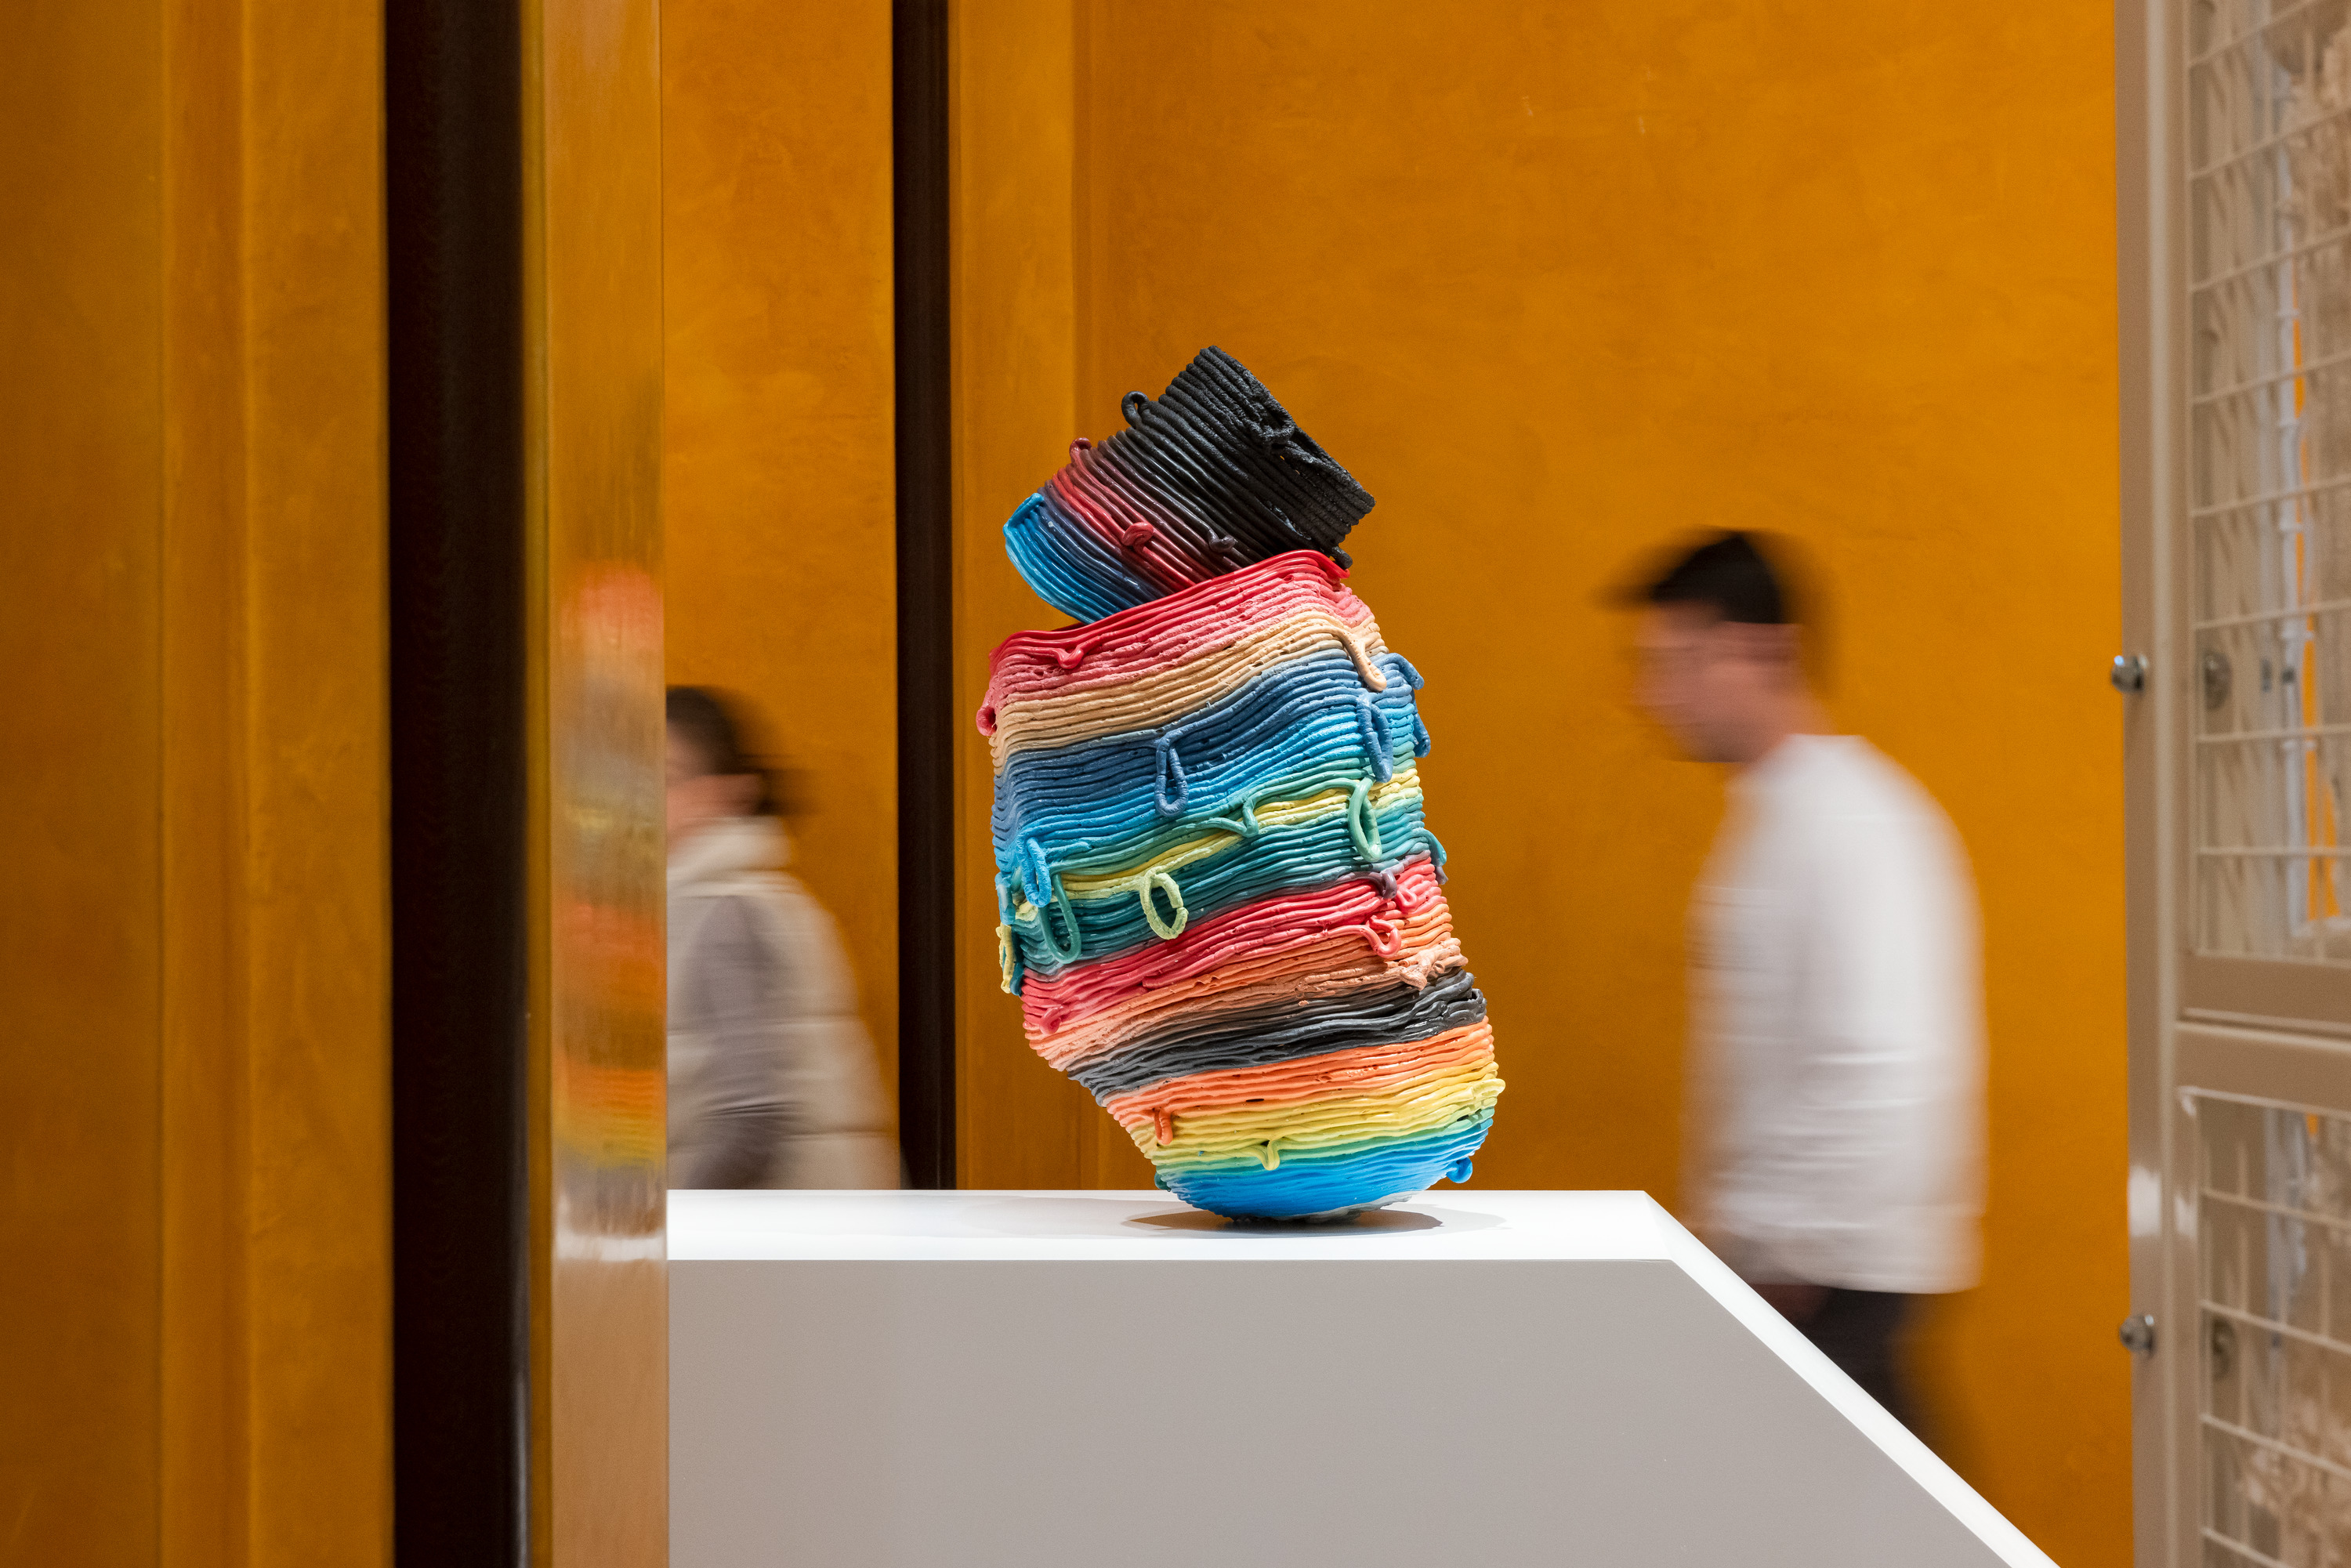
-
Summer Camps
Registration is now open! New workshops are available for teenage artists -
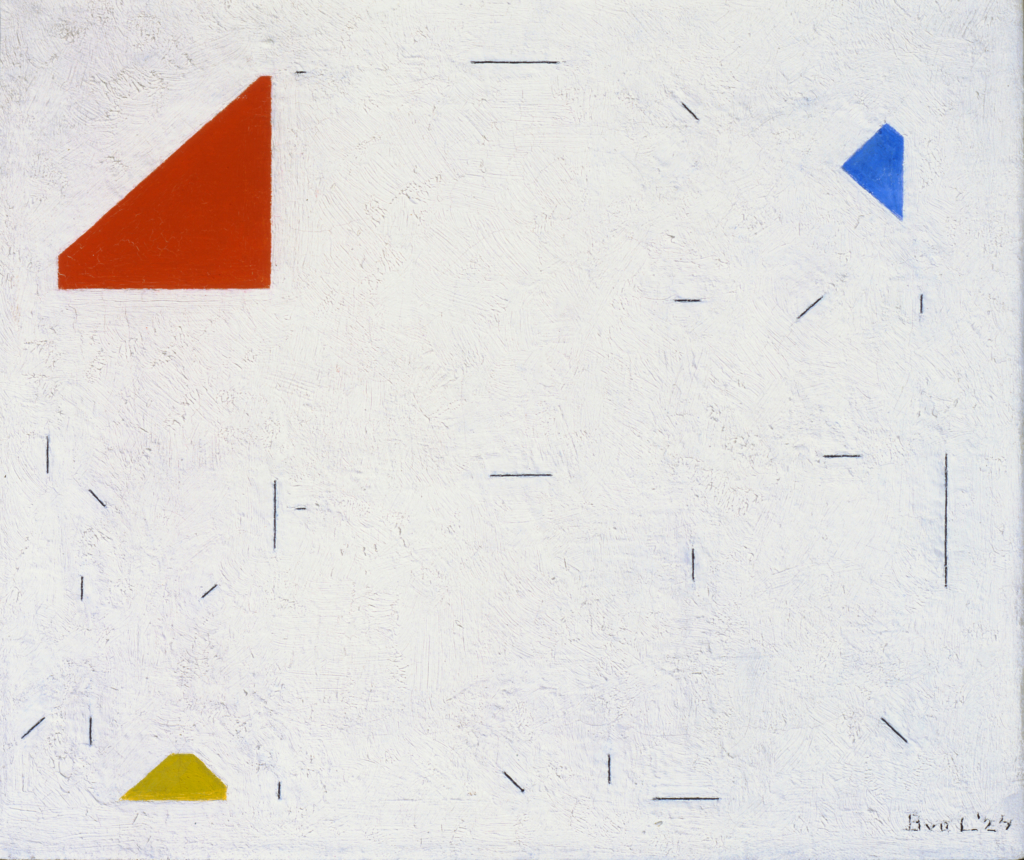
Imprinting in Their Time:
Japanese Printmakers,
1912–2022Through May 12, 2024
Get tickets now to experience this special exhibition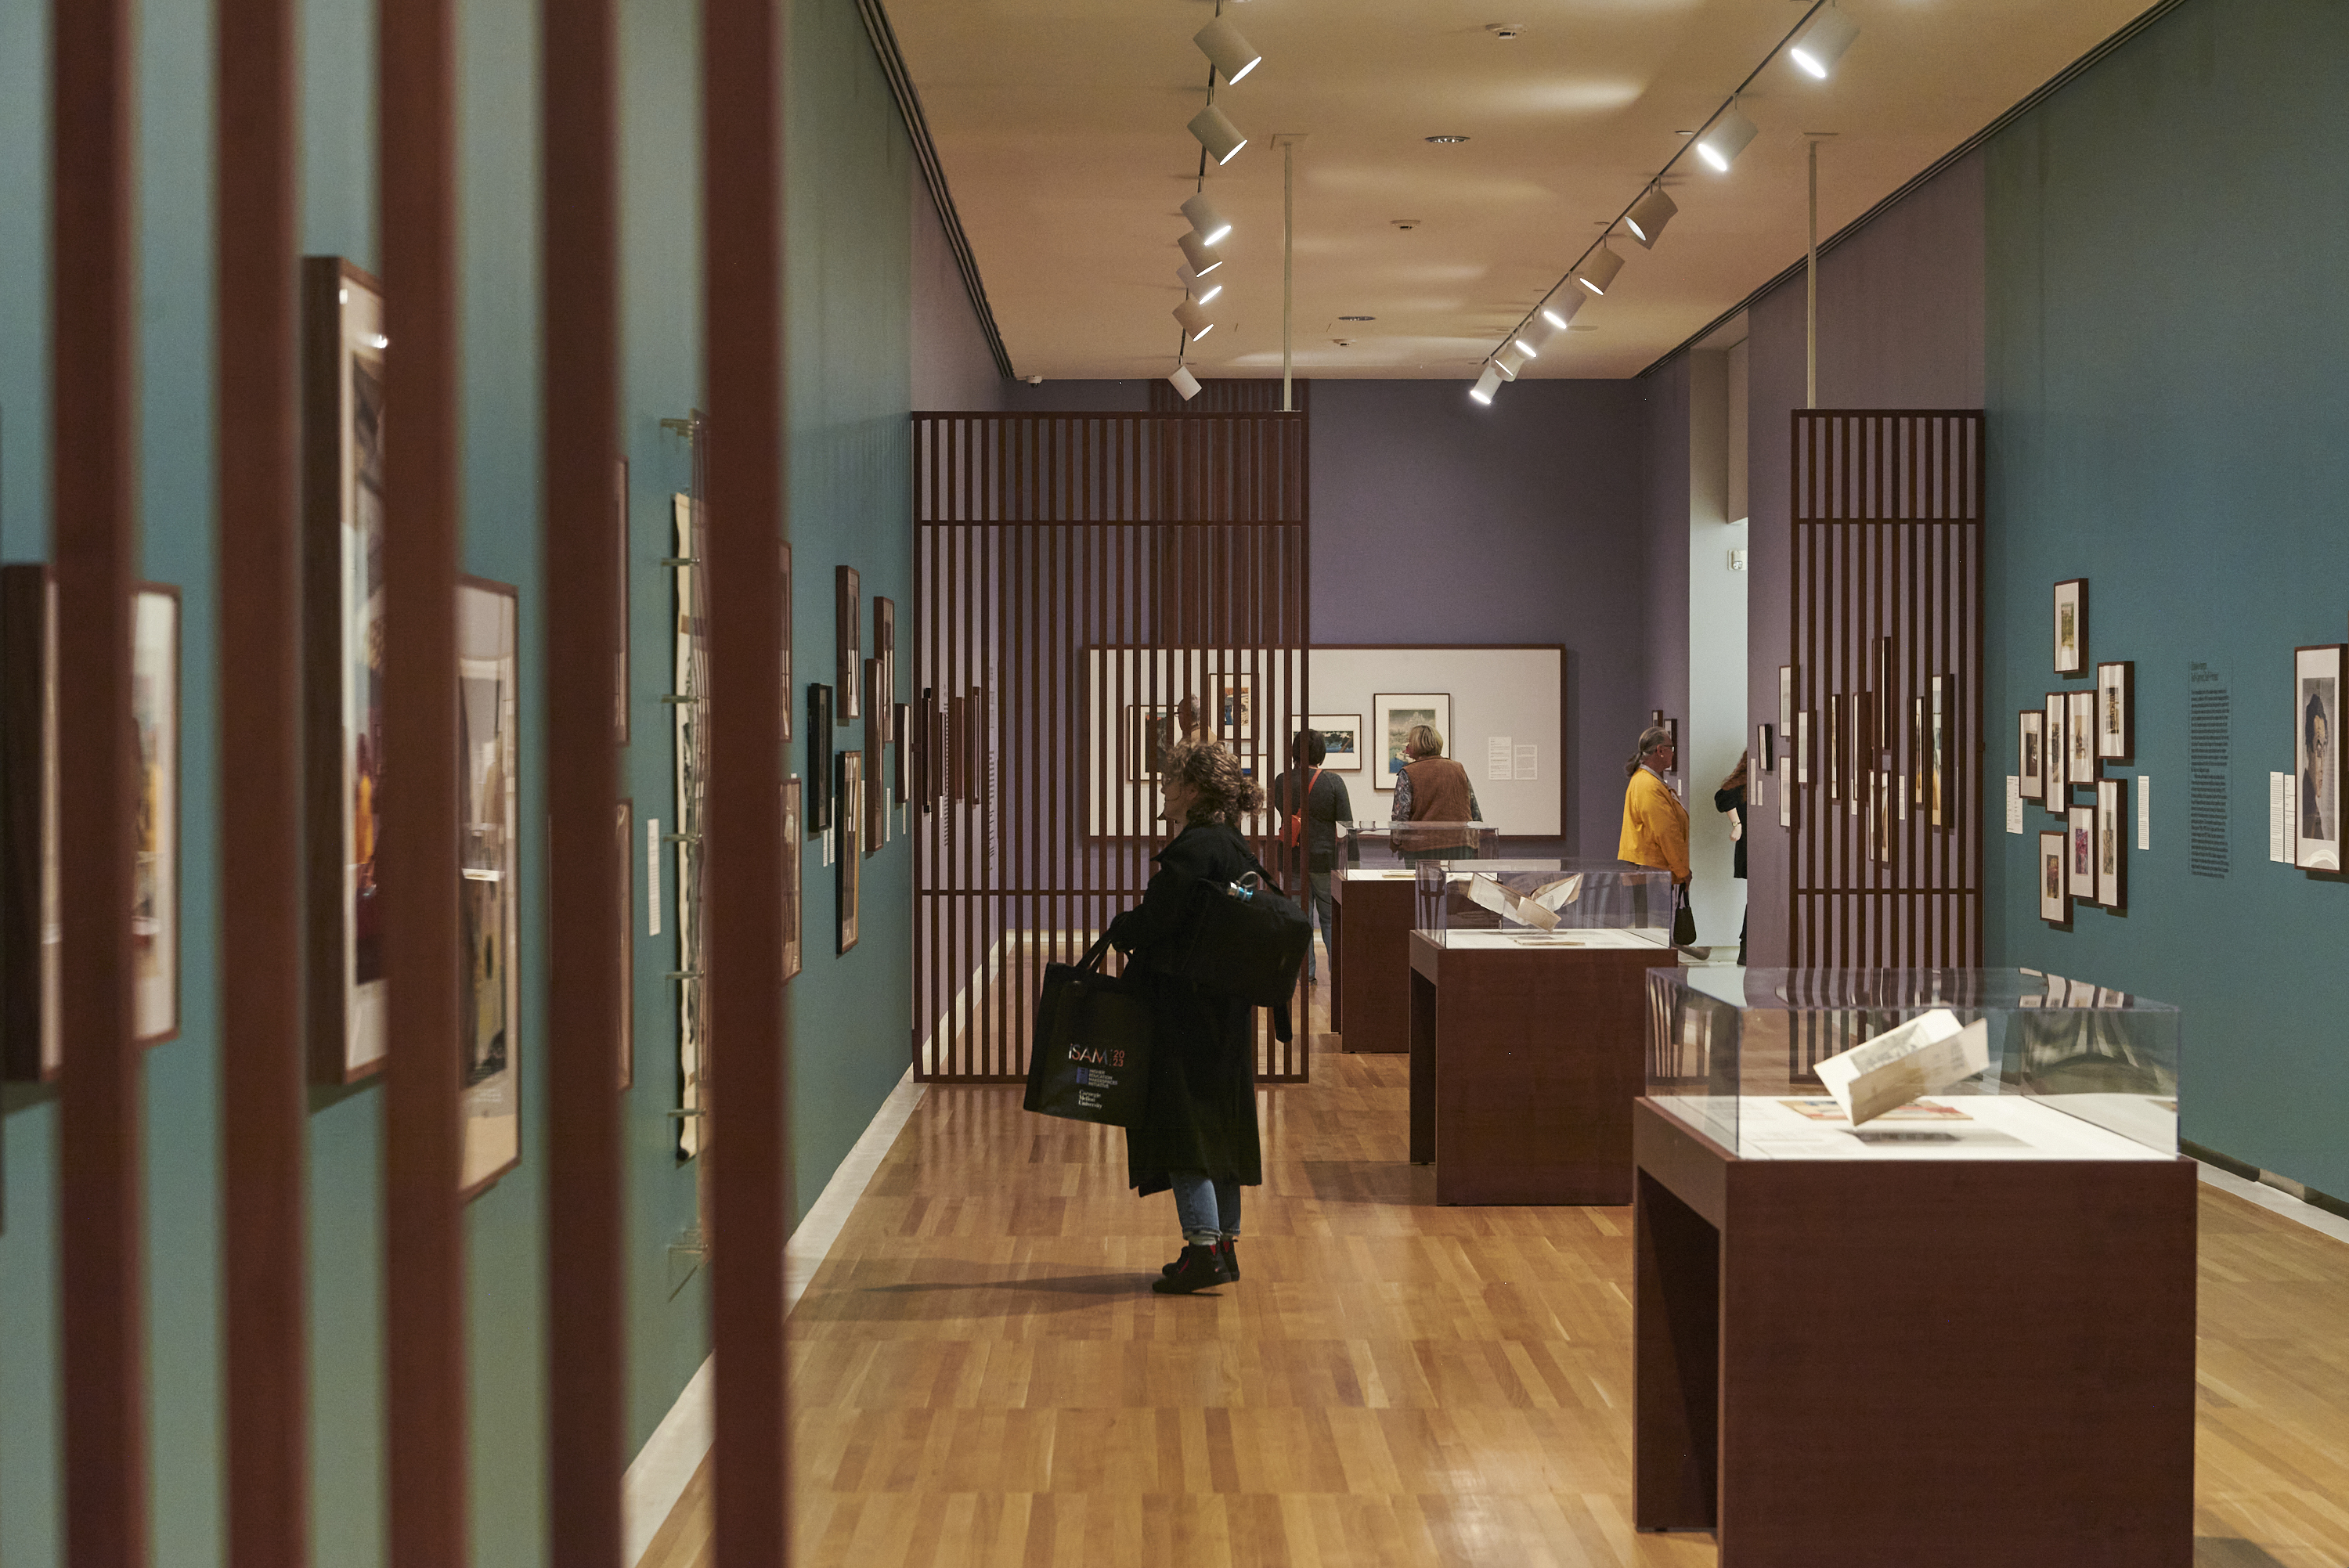
-
Shop Here
Browse a curated array of artful products and branded merchandise
Art to Encounter View All →

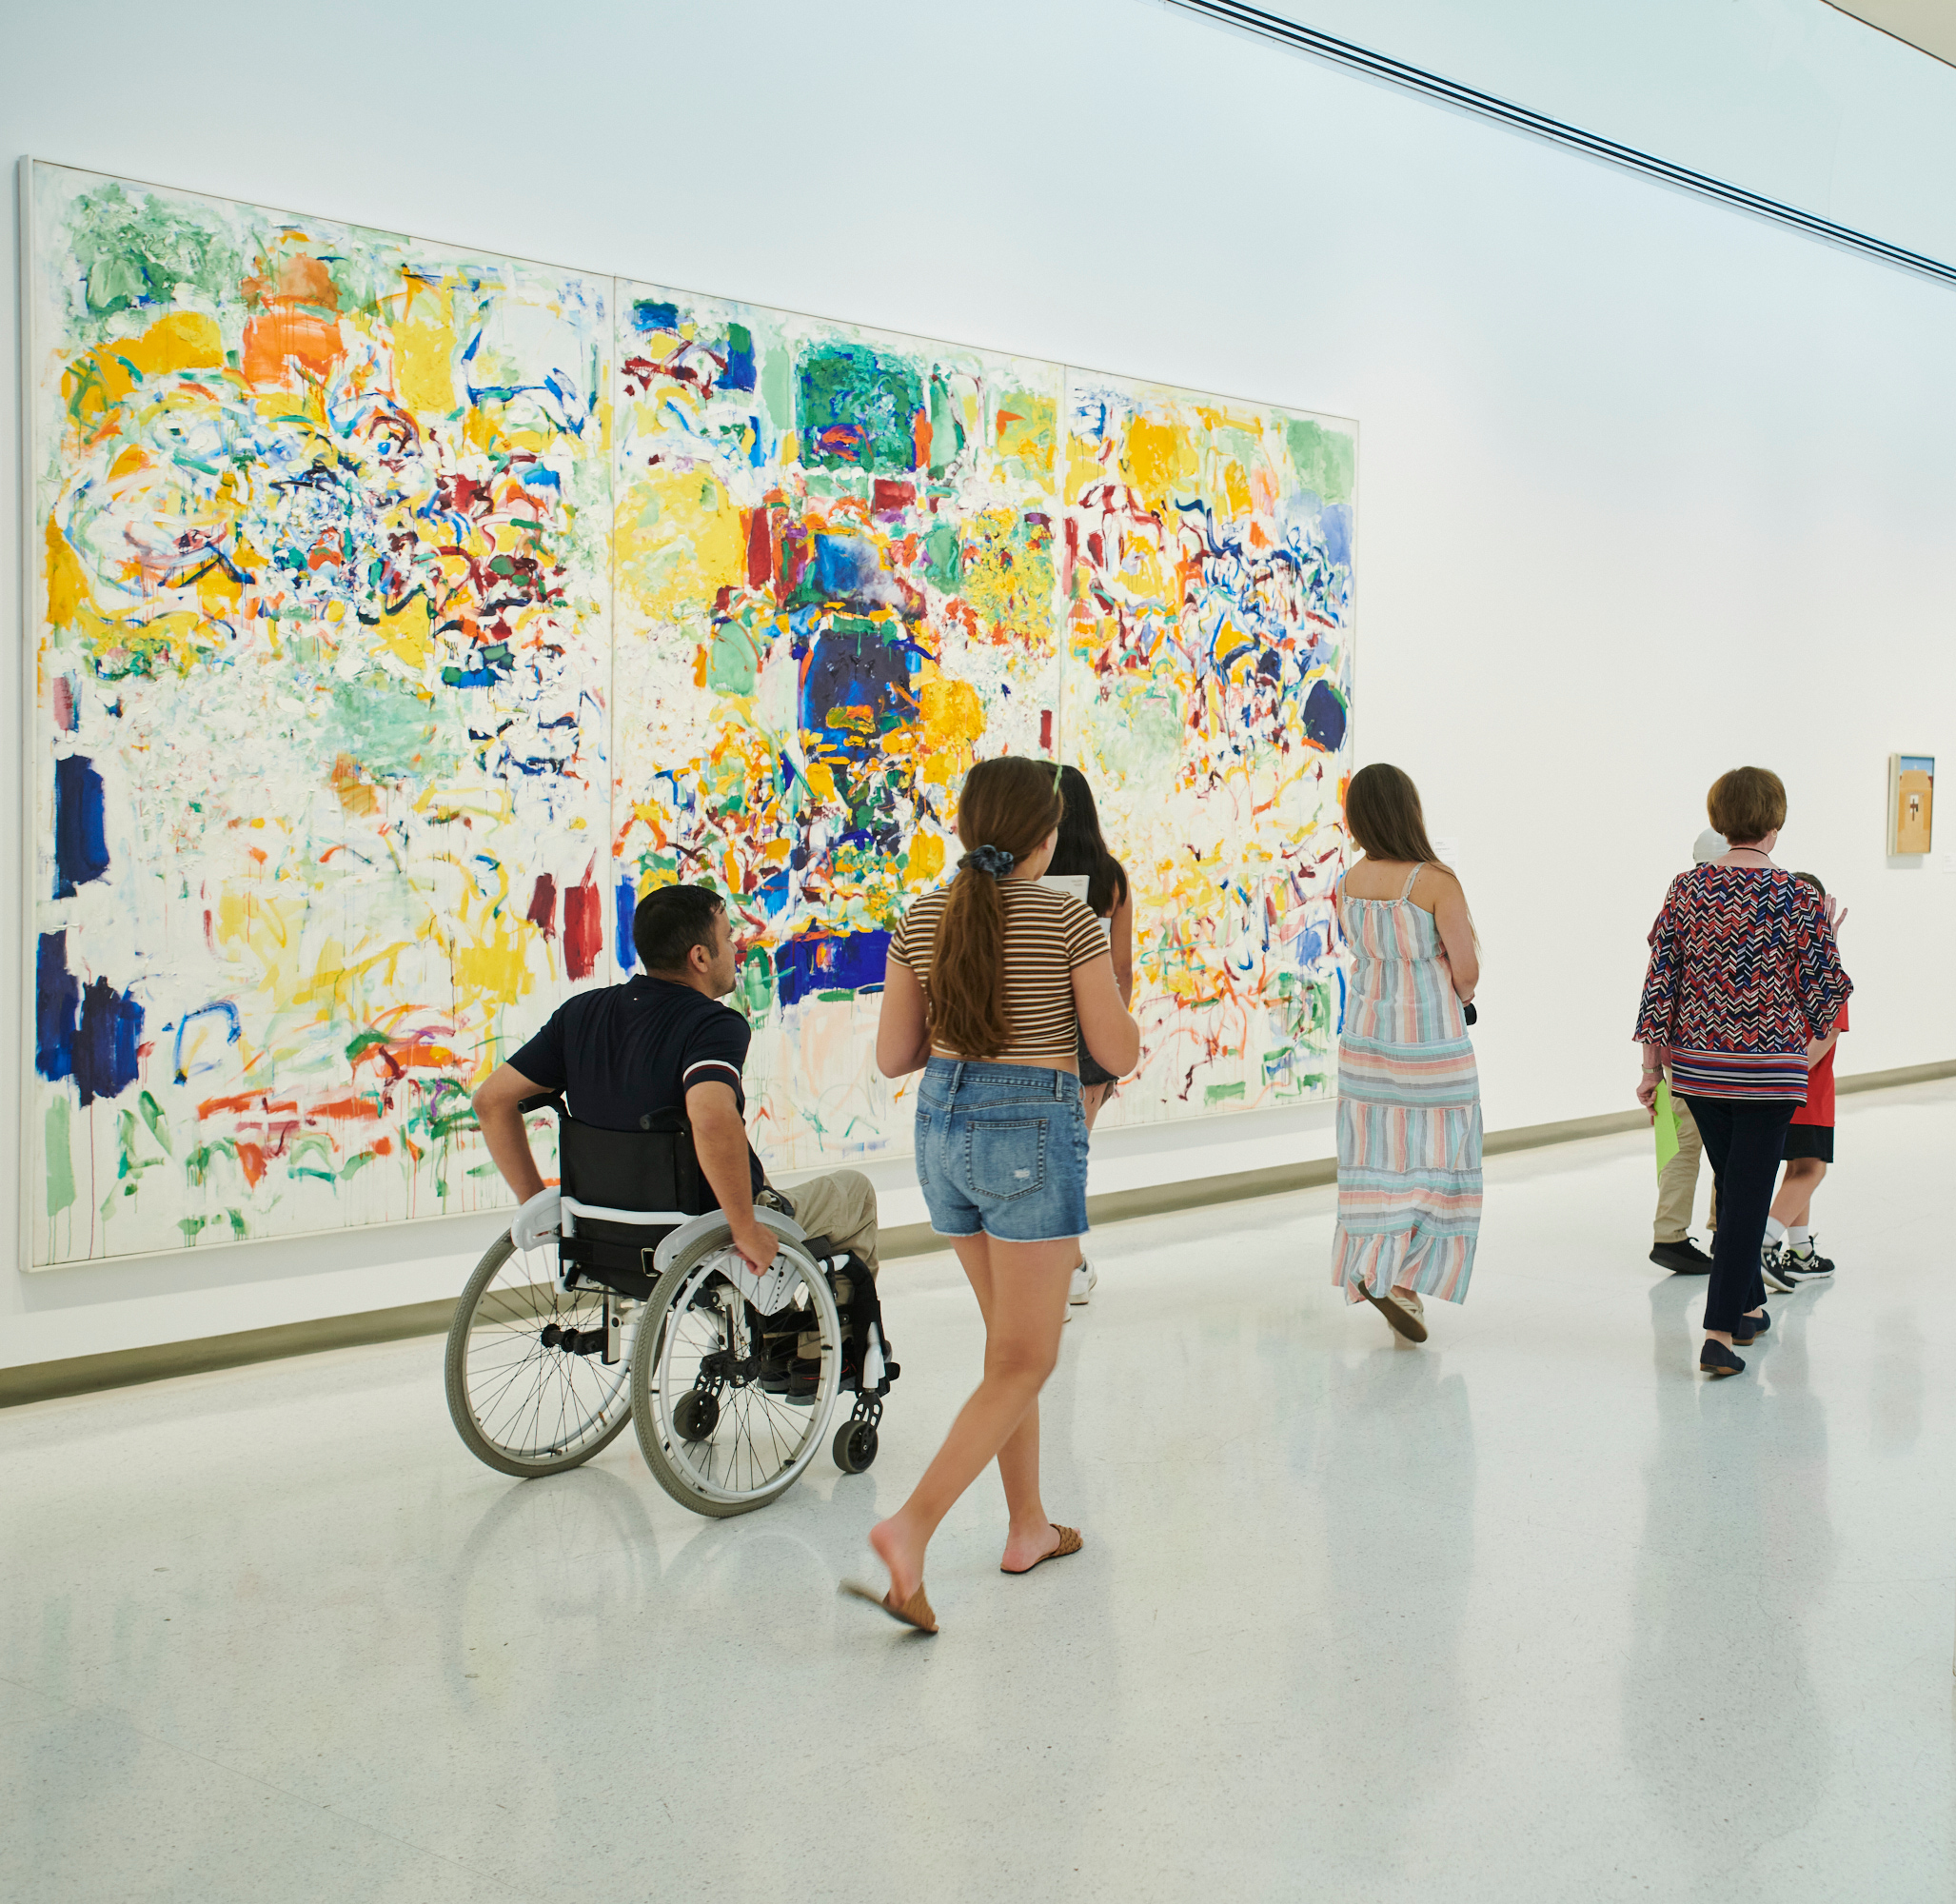
On view through May 12, 2024

On view through July 21, 2024

On view through Sept. 22, 2024
On view Through Jan. 26, 2025
Skip the Line 🎟 Get Your Tickets Now 🎟
What’s Happening View All →

Sat., Apr. 27, 11 a.m.

Sat., Apr. 27, 2 p.m.
Wed., May 1, 9 a.m.

Thurs., May 2, 4 p.m.

Ways to Learn
Visit our online resource library to read, watch, and listen!
The created language emerges from the depths of each metal surface.

Art in Your Inbox 📧 Sign Up For Our Newsletter 📧